Sunday, April 26, 2015

How to configure Access Point as a Workgroup Bridge – (CISCO1261, 1242)

Here I'm going to use CISCO 1261 two access points and you can apply the same configuration to CISCO 1242 Model also.

I'm not going to show you about the basic configuration and only Root Access point and Work Group bridge configurations printed here.

image


First I will  Configure the Workgroup Bridge

CLI Instructions

1. To configure the SSID, enter:


AP-01(config)#dot11 ssid ‘SSID Name’

AP -01(config-ssid)#authentication open

imageimage

Here I have configured open authentication and later you can change that with your requirement.

2.Then we need to change the station role to the wokrgroup bridge under the the correct radio interface, enter:

AP -01(config)#interface dot11Radio 0

AP -01(config-if)#station-role workgroup-bridge

image

GUI Instruction to Configure this AP as Workgroup Bridge

Configure SSID.

To configure SSID, Go in to Security > SSID manager  Then give your SSID name and select the Interface and the Client authentication method.. click ok to continue

image

Enable the radio Interface.

Go in to Network interfaces> Radio0-** > Settings
Under that you can enable Radio and set the role as Workgroup Bridge

image

Now We can configure the Root AP

Ap-02(config)#dot11 ssid ‘SSID Name’

Ap-02(config-ssid)#authentication open

Ap-02(config-ssid)#guest-mode

image

a. guest-mode command will configures the SSID to be broadcasted by the root Access point.

b. In order to configure the radio role to be the root and add the SSID under the radio, enter:

Ap-02(config)#interface dot11Radio 0

Ap-02(config-if)#station-role root

Ap-02(config-if)#ssid ‘SSID Name’

GUI Instruction to Configure this AP as Root AP

Configure SSID and the Guest mode

To configure SSID, Go in to Security > SSID manager  Then give your SSID name and select the Interface and the Client authentication method.. click ok to continue

image

then Select Single Guest mode and select the SSID from the drop down list

image

In order to configure the AP role as root, go in to Network > Network Interface > Choose the correct radio interface > Settings. Choose the role in the radio network to be the AP as shown here:

image

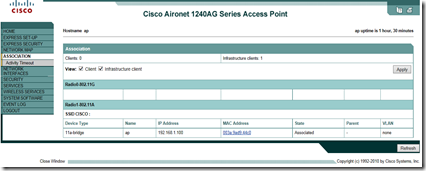
Now you will able to bridge your AP and able to make the communication between those two AP. to troubleshoot you can use “show dot11 associations ” command.

Monday, December 2, 2013

How to upgrade Cisco IOS on an Autonomous Access Point

Firmware upgrade in Cisco 1242

The details that is mentiond below is based on Cisco Aironet 1240AG Series Access Point(Here I have used CISCO 1242) that runs Cisco IOS Software Release12.4(21a)JA1.

Hope this procedure is applicable for any autonomous access point that CISCO Providing.

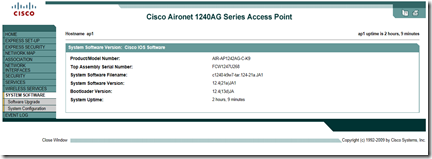
First you need to logging to Access point and go in to SYSTEM SOFTWARE > Software upgrade

Capture


A1

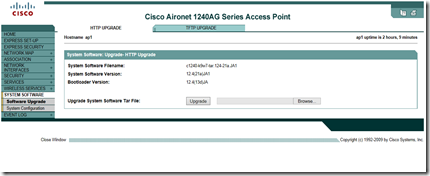
Then you will have two options.

  1. HTTP Upgrade

2. TFTP Upgrade

Here I’m using the HTTP upgrade method and I f you have a TFTP Server running on your Local PC, you can go with the second method.

A2

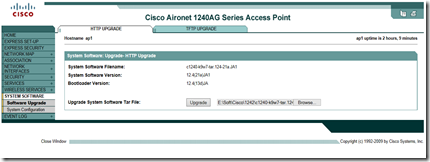
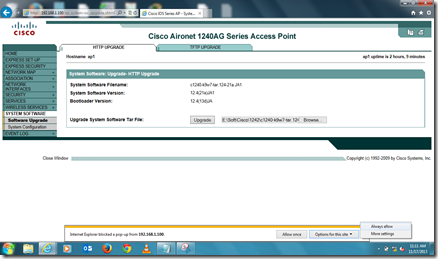
Select the Downloaded Zip file from Cisco by using the Brows tab and then you can select Upgrade tab.

If you  can use a same PC to access the CISCO AP Web console and the downloaded “.tar” (Firmware) file then it will be reduce the time taken to upgrade the firmware.

A3

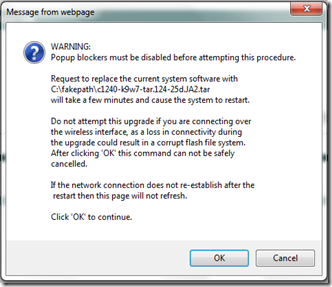
Then you will get the below window. Click ok to continue.

A4

Before you are doing this, need to disable the pop-up blocker or else as I mentioned you can allow this saying that always allow.

A5

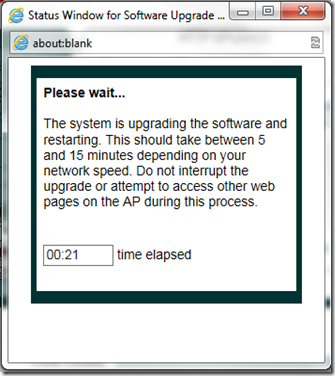
This window will come up and downtime counter will shows the time taken for the total session.

A6

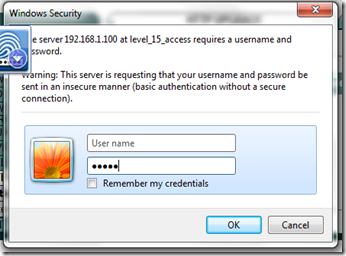
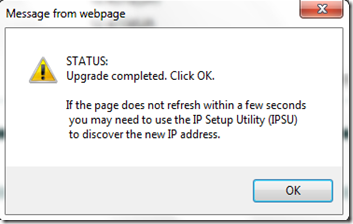
While its running again it AP will prompt for the User name Password verification.

A7


Now you are done with the firmware upgrade.

A8

If you need more information about the Cisco IOS Software Release, you can refer this URL.

http://www.cisco.com/en/US/prod/collateral/wireless/ps5678/ps6087/product_bulletin_c25-560118_ps10092_Products_Bulletin.html

Tuesday, April 3, 2012

Port Mirroring in CISCO Switch - SPAN


Catalyst Switched Port Analyzer (SPAN) Configuration

Here I'm try to give some  instructions for configuration of Port Mirroring on Cisco Catalyst Switches.
In my case I'm try to monitor,     
                              port 5 (Fe 0/5) – This is the port that I want to mirror
                              Port 3 (Fe 0/3) -  This is the Source port. I'm going to use Wireshark on this port


Now need to execute following command on the switch:

01.   Enter configuration mode:

SW1# configure terminal

02.    Create monitoring session and configure interface Fast Ethernet 0/3 as source port for that session:

SW1(config)# monitor session 1 source interface fastethernet 0/3 both

03.   Configure interface Fast Ethernet 0/5 as destination port for session 1.

SW1(config)# monitor session 1 destination interface fastethernet 0/5

04.   Then check, if everything is configured correctly:

SW1# show monitor session 1


Then connect a PC(with Wireshark installed) to Port 3 and monitor your PC interface card.
I have found some good CISCO site about SPAN,

And if you need some help on Wireshark use this site,

Thursday, December 4, 2008

How to Recover CISCO Switch Password

Here I’m using a CISCO 3500 series switch to make this test environment.

Steps,

1. Connect the Console cable in to you PC Serial port or use the USB/Serial adaptor and connect using your terminal Software.

In my case I’m using putty.

2. After that power off the Switch and while hold down the Mode button (Bottom left corner) and power on the switch. After few minutes the Light on PORT 1 will goes out. Then release the Mode button.


3. Then you can see this window in the terminal window. Give a command “Flash_init


4. Then you can see the directory by using “dir flash:” command


5. Give a command Load_helper

6. Rename the Config.text file in to Config.old by using this command

“Rename flash:config.text flash:config.old”

7. After that give a Command “Boot”.


Then switch will restart


8. Then give “enable” command to go in to user EXEC level


9. Then Copy the Config.old file in to running-config by using

copy flash:config.old system:running-config.old


10. Go in to Configuration mode. use “Configuration terminal” command. If you want you can change the Switch name. use command “hostname

11. Then disable the Secret password by using “no enable Secret


12. Save the new configuration in to running- config. Use “copy running-config startup-config


Congratulations now you can log in to your switch without a password. But make sure to give a new password and keep it in a place that you can find.